How to Use

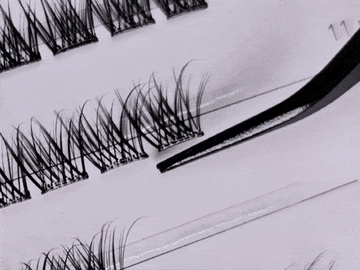
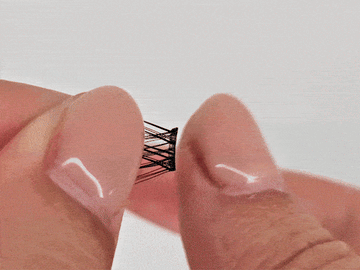
Welcome to your step-by-step guide for mastering Navo Lashes. These lashes are designed to enhance your natural beauty with ease.

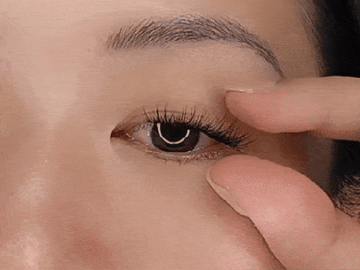
It’s important to follow the instructions closely, as even small variations can affect your results. There’s a bit of a learning curve at first, but once it clicks, application becomes quick and easy.

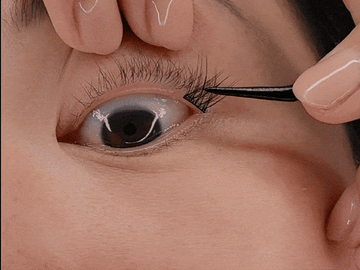
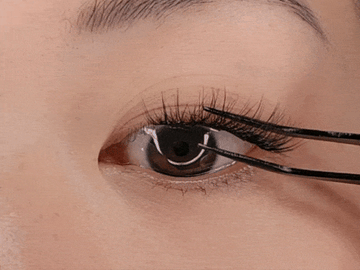
For best results, make sure you’re applying in a well-lit space where you can clearly see your upper waterline (where your lash roots grow). A mirror you can get close to — or a magnifying mirror — can make a big difference.

Make sure your eyes are clean and fully dry before you begin. If your eyes are watery, the adhesive won’t be able to form a proper seal.

Recommended Lash Placement

Place the adhesive strip along your upper waterline, where your natural lash roots grow.

Make sure the adhesive sticks to the skin, not the lash hairs.

Follow the green line for placement, and avoid placing too close to the inner or outer corners for comfort.

Lash Maps

Every eye is unique, so the right lash length may vary. We suggest starting with 11 mm, as it suits most eyes. Here's a quick guide to popular lash maps:

Cat Eye: Short to long (e.g., 10, 11, 11, 12 mm) – great for elongating the eyes.

Squirrel: Similar to Cat Eye but with a shorter outer lash (e.g., 10, 11, 12, 11 mm) – perfect for downturned eyes.

Dolly: Longest in the center (e.g., 10, 11, 12, 11, 10 mm) – ideal for a wide-eyed look.

Most eyes need 3-6 clusters. Test different maps to find your perfect fit!

Lash Storage Tip

Try placing the clusters upside down (curve facing down).

It’s an optional trick that helps used clusters stay in place and organized in the box!